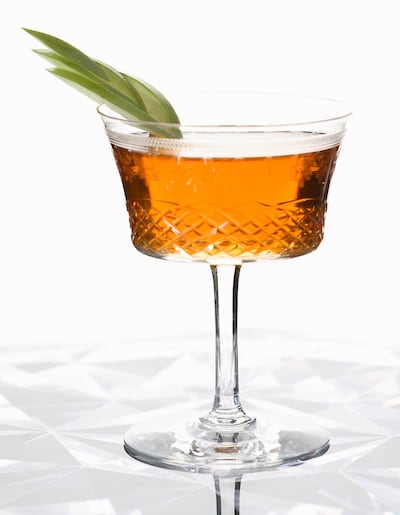
Watching a skilled bartender at work – gracefully moving from backbar to ice well, throwing splashes of liquids into mixing glasses and shaker tins, silently stirring drinks or shaking them with vigour – is part of the pleasure of going to a cocktail bar. But this theatre serves to obscure a fundamental truth about bartending: making a good cocktail isn’t necessarily hard work.
Home bartenders have a few advantages over their professional counterparts when it comes to making high-quality cocktails. Firstly, home bartenders are beholden to nobody’s budget but their own. If you want to make, say, a Chartreuse swizzle at home, nobody’s going to stop you – whereas the reality of what customers are willing to pay keeps such drinks off most bars’ lists.
Home bartenders are also able to deep-dive into the things that interest them. If you discover that you love aquavit, for example, you can collect as many different examples of the spirit as you please – a luxury most commercial bars can’t afford.
With practice and finesse, the drinks that you make in your home bar can equal the drinks you’ll find at your local watering hole. Here are a few tips to help take your home bar game to the next level.
1. Buy high-quality ingredients – but don’t go super-luxe
There's a truism in the cocktail world that a mixed drink is only as good as its worst ingredient. While it mostly holds true – as anyone who's had a Manhattan made with cheap bourbon and spoiled vermouth can attest – that doesn't mean you have to spend a packet on ingredients to make good drinks.
There isn’t always a strong correlation between price and quality of liquor. Of course, the very cheapest bottles are more likely to be awful, but that doesn’t mean that the very expensive stuff is amazing. When you buy a bottle of liquor, you’re not just buying the juice inside – you’re paying for the packaging, the marketing, the product’s rarity, and the social prestige it endows.
It's also worth thinking about whether the product is a "team player" when put in mixed drinks. For example, I adore the Catalonian producer Casa Mariol's sweet vermouth on its own as an aperitif, but have found that it doesn't work very well in most cocktails that call for sweet vermouth.
This kind of knowledge comes down to trial and error, but one simple way to tell if a product might not be a team player is if the product advertising emphasises its novelty or unusualness. The trendy new gin laden with obscure botanicals may taste wonderful in a G&T, but could also ruin your Negroni.
If you’re looking to fill a gap in your home liquor cabinet and don’t know what brand to buy, pop into a local bar and ask them what brand they use. The “first-pour” spirits used at good cocktail bars are usually great value for money and will work in a wide variety of mixed drinks.

Make it at home: Manhattan
The Manhattan is one cocktail that benefits from some thought put into its ingredients. Made with average ingredients according to the now-standard "212" recipe ( two ounces whiskey, one ounce sweet vermouth, two dashes aromatic bitters) hardly wows.
Upgrade to a high-proof or cask-strength whiskey, match it with an equally impressive vermouth, and tweak the ratios so the vermouth plays an equal role to the whiskey – and suddenly you have a seriously delicious cocktail.
45ml high-proof whiskey (rye or bourbon)
45ml sweet vermouth
1 dash orange bitters
1 dash aromatic bitters
Build ingredients in a mixing glass. Add ice and stir until chilled. Strain into a chilled cocktail coupe. Garnish with a skewered maraschino cherry or a twist of orange peel.
2. Ingredients are more important than equipment
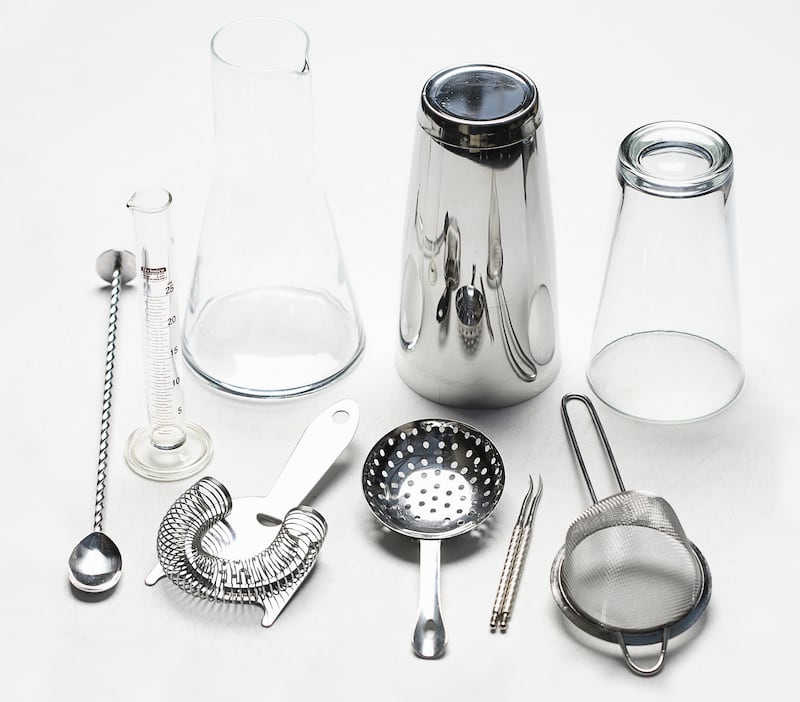
If you're making drinks at home, you'll need some basic equipment – emphasis here on the basic. While high-quality barware makes mixing drinks a pleasure, it's not required at home. So skip the expensive equipment and splash out on ingredients instead. I'd much rather drink a martini made with high-quality gin and ultra-fresh vermouth stirred in a jam jar than one made of cheap gin and vermouth left over from a house party four years ago stirred in a Japanese cut-crystal Yarai mixing glass.
There are a few areas where it doesn’t pay to skimp on equipment. Firstly, spend money on a decent set of jiggers to measure the booze you pour into cocktails. Accuracy is important: it helps you control how much liquor you and your guests drink, and it means your cocktails are consistent.
Look for jiggers that can pour the most common cocktail measurements: 7.5ml (¼ fl oz), 15ml (½ fl oz), 22.5 ml (¾ fl oz) and 30ml (1 fl oz). If you make a lot of cocktails, go for a jigger with a larger capacity – one that measures 45 ml (1½ fl oz) and 60ml (2 fl oz). A bar spoon that measures the industry-standard 5ml in its bowl is also useful, but you can use a metric teaspoon measure in a pinch. If you like cocktails that call for dashes of ingredients that don’t come in bottles with built-in dashers – such as maraschino or absinthe – then a Japanese-style bitters bottle with a dasher top is a useful investment.
For the rest: improvise. If you have a clean jam jar with a matching lid and a chopstick, you have all of the equipment you’ll need to make a stirred drink. And a protein shake bottle and a tea strainer can be used in place of a cocktail shaker and strainer.

3. You can't have a party without ice
If you're invited to a friend's cocktail party and are unsure what to bring, bring a few bags of ice. A well-made cocktail usually requires a surprisingly large, almost environmentally irresponsible quantity of ice – not just in the glass (for drinks served on the rocks or in Collins glasses) but also in the making. Rookie bartenders often underestimate how much ice a cocktail needs, with tepid results.
Quality matters too. Make sure the ice you use is fresh (old ice can absorb food odours from its neighbours in the freezer) and made from the purest water available. As bartender Simon Ford puts it, "if a gin or vodka travels to Iceland for its pure water source and you throw a seven-month-old burnt cloudy ice cube that was stuck to a packet of frozen peas in your drink, you just negated the trouble they went through."
The cloudier the ice is, the more impure it is. You don’t have to make your ice cubes from bottled water from an unspoiled exotic locale to get clearer cubes – simply run tap water through a basic water filtration system before freezing for better results.
Large, crystal-clear ice cubes have become something of a shibboleth for high-end cocktail bars. If you have the time and patience, you can replicate this kind of ice at home using a technique known as directional freezing – essentially forcing the ice to freeze from the top down, which pushes the water impurities towards the bottom. Several new products, such as Wintersmiths’ ice chest and Tovolo’s clear ice system, do the work for you – but all you really need is a small insulated cooler filled with water, a freezer large enough to contain it, and the patience to break the slab down into smaller chunks.
Make it at home: elder fashioned
If you have the means to make large blocks of crystal-clear ice, the old-fashioned remains one of the best drinks to deploy them in. This light take on the old-fashioned is not only a doddle to make, but is light in colour, allowing the clear ice to shine through.
60ml dry gin, preferably Plymouth
15ml St-Germain elderflower liqueur
2 dashes orange bitters
Build ingredients in a mixing glass. Add ice and stir until chilled. Strain into a tumbler over a large piece of clear ice. Garnish with a twist of grapefruit peel.
4. Shake it like you mean it (and stir like an assassin)
There are three fundamental ways to make a cocktail. The easiest is to measure out the ingredients into the glass and add ice – known within the bar industry as "building" a drink. The other ways are to shake the ingredients together with ice or stir the ingredients over ice, then strain the drink off. These latter two techniques sound simple, but require practice and finesse.
The rule of thumb for whether to shake or stir a drink has to do with its ingredients. Generally drinks that contain only clear ingredients (spirits, simple syrup, bitters etc) should be stirred, while drinks that contain opaque ingredients or those that need to be fully incorporated into the drink (citrus juices, milk, cream, and eggs) should be shaken. This allows drinks with clear ingredients to remain beautifully limpid, while creating texture and mouthfeel in the shaken drinks. In both cases, use loads of ice – enough to rise above the surface of the drink in the shaker tin or mixing glass.
Many rookie bartenders underestimate just how hard a shake needs to be to properly chill and dilute a cocktail. Harry Craddock's advice to young bartenders from his 1930 Savoy Cocktail Book remains timeless: "Shake the shaker as hard as you can … you are trying to wake [the cocktail] up, not send it to sleep!"
Hard here doesn’t necessarily mean fast, but something more like firmly – pushing the ice vigorously back and forth from one end of the shaker to the other. This is easier to accomplish when you’re not fighting gravity – try shaking your cocktail horizontally rather than vertically. Once you’ve shaken for about 10 to 15 seconds, your cocktail is ready to be strained off through a hawthorne strainer and a second fine-mesh strainer (to catch errant chips of ice and citrus pulp).
Professional stirring technique is deadly silent. Stirring a cocktail is not like stirring coffee – you’re not aiming to agitate the contents of your mixing glass while stirring. In fact you’re not really “stirring” the drink, but rather pushing the ice through the drink.
Start by building your cocktail in the mixing glass and top it off with ice, then place a bar spoon (or chopstick if you’re improvising) between the ice and the inside of the glass. Then, with the spoon handle between the fingers of one hand, move the ice by alternating between pushing and pulling motions. Stirring a drink down to the proper level of chill and dilution takes longer than shaking – about 30 to 45 seconds should do the job.
Make it at home: Ramos gin fizz
If you want to test your shaking mettle, whip up a Ramos gin fizz. This cocktail is so labour-intensive that its inventor Henry Ramos famously hired a posse of "shaker boys" whose only job was to shake these drinks. It's a lot of work, but worth the effort.
45ml old tom gin
15ml simple syrup
15ml lime juice
15ml lemon juice
30ml cream
1 egg white
3 drops orange blossom water
30ml soda water
Build all ingredients except soda water in a cocktail shaker. Shake without ice to fluff up the egg white and incorporate the cream. Add ice and shake again, vigorously, until well chilled and frothy. Add soda water to a collins glass and gently strain the cocktail over the soda water. Gently top with ice if necessary. No garnish is required, but you can add a slice of orange if you like.

5. Garnish liberally or sparingly – just do it thoughtfully
The old bartender's saying is the customer takes the first sip of their drink with their eyes. This underlines the importance of a cocktail's presentation – like food, drink is more appealing when it looks good.
How much garnish to apply to a drink is a matter of aesthetic taste – some bartenders skew towards over-the-top garnishes, while others eschew all but the most functional of garnishes altogether.
It’s worth distinguishing between garnishes that are functional – those that serve a purpose and those that are purely visual. Simpler garnishes tend to have a functional purpose: the twist of lemon peel that floats in a martini or the sprig of mint tucked under the straw in a julep, both of which enhance the taste and smell of the drink.
More adventurous garnishes, such as the banana dolphin or artful arrangements of pineapple fronds and edible flowers, tend to be less functional. Of course, there are exceptions to this rule: the beautifully simple sprigs of baby’s breath that Naren Young places in his white Negronis at New York’s Dante add no flavour or aroma to the drink, while the inverted bottle of Underberg that crowns New Yorker Jane Danger’s imperial bulldog cocktail adds a complex aromatic element.
For home bartenders, less is often more – you’ll achieve more wow factor with a simple garnish prepared with care than an extravagant one made poorly.
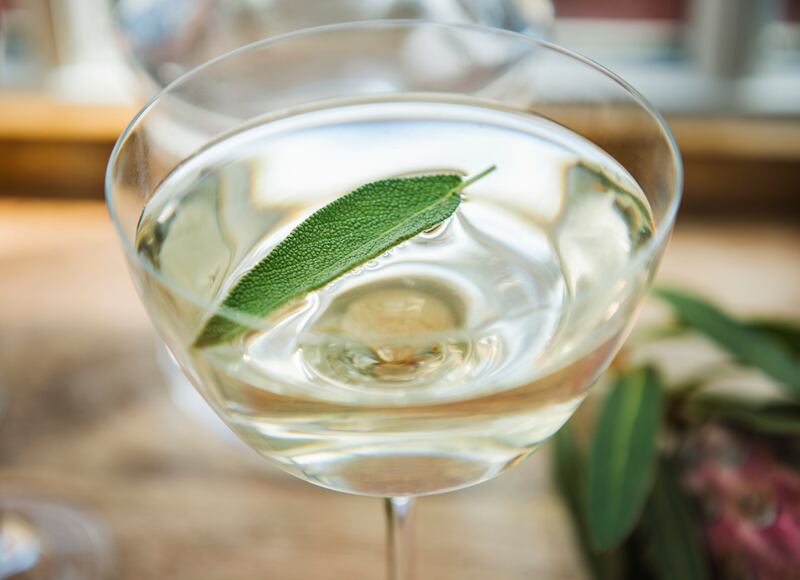
You don’t need to do much to make your cocktails insta-worthy: a twist of citrus peel can be jazzed up by trimming its edges with pinking shears rather than a knife; a fresh sprig of an unexpected herb (thyme, basil, sage) can transform the way a drink looks and smells; and a long slice of cucumber can wind its way around the inside of a Collins glass. As with the ingredients that go into the drink, opt for high-quality, fresh garnish ingredients wherever possible, especially if the garnish is edible.
- Guardian Service


